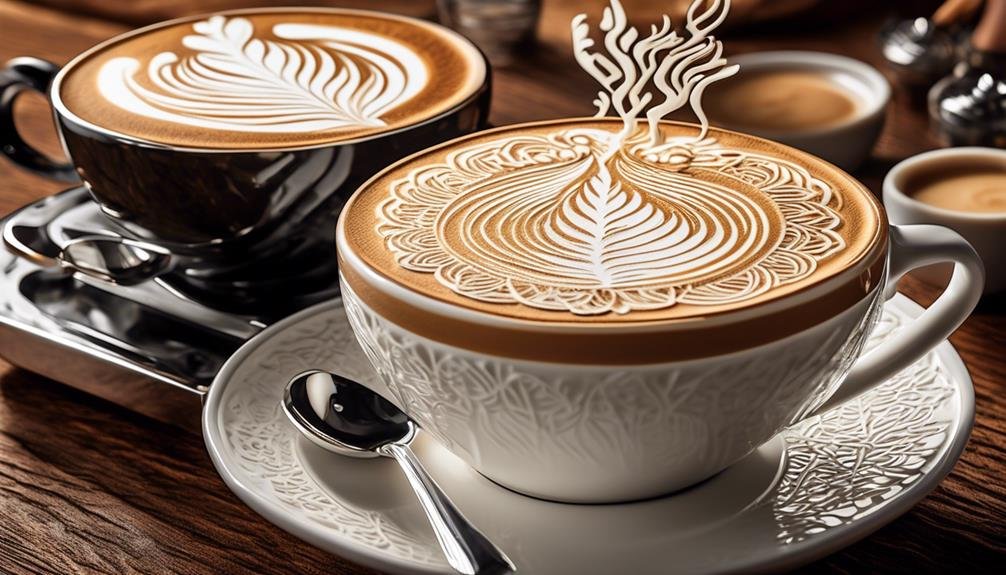
So, you think you've got what it takes to create those Instagram-worthy latte art masterpieces? Well, my friend, prepare to be amazed as we delve into the art of crafting those intricate designs on a steaming cup of joe.
But hold on tight, because there's more to it than just pouring milk and hoping for the best. Let's uncover the secrets behind the perfect latte art, from the equipment you'll need to the techniques that will make your creations stand out.
Get ready to elevate your latte game to a whole new level.
Key Takeaways
- Essential equipment for making latte art includes an espresso machine with a steam wand, a metal pitcher with a temperature sticker, and 6-ounce mugs.
- Achieving perfect microfoam requires using whole milk, chilling the pitcher, and steaming the milk to 140-145 degrees Fahrenheit.
- Pulling espresso shots involves measuring 7-8 grams of coffee, tamping evenly, and pulling the shot for 21-24 seconds.
- Pouring technique involves pouring the milk slowly into the cup using a tilting motion and pouring directly into the white dot of microfoam.
The Basics of Latte Art
Are you ready to dive into the world of latte art and discover the basics of creating beautiful designs on your coffee? Making latte art is a skill that requires practice, precision, and the right equipment. To begin, you'll need an espresso machine with a steam wand, a metal pitcher with a temperature sticker, and 6-ounce mugs. These tools are essential for creating latte art.
One of the key elements in latte art is achieving the perfect microfoam. This is done by using whole milk, chilling the pitcher beforehand, and steaming the milk to a temperature of 140-145 degrees Fahrenheit. The result is a smooth and velvety microfoam that's ideal for creating intricate designs.
Next, you'll need to pull your espresso shots. Measure 7-8 grams of espresso, tamp it down evenly, and pull the shot for 21-24 seconds. This will give you a creamy crema, which serves as the canvas for your latte art. Once you have your espresso shot ready, pour the milk slowly into the cup, using a tilting motion. This pouring technique allows you to create designs like hearts or rosettas by pouring directly into the white dot of microfoam.
Lastly, to add intricate details to your latte art, you can use a toothpick or a latte art pen to etch designs. Start with simple shapes and practice patience and precision to achieve clean lines and details in your art.
With these basics in mind, you're ready to make latte art that will impress both yourself and others. So grab your espresso machine, steam wand, and pitcher of milk, and let your creativity flow as you create beautiful designs on your coffee.
Required Equipment and Ingredients
To create stunning latte art, you'll need specific equipment and ingredients to ensure the best results.
The first essential item is an espresso machine with a steaming wand. This allows you to produce the necessary steamed milk for your latte art. A metal pitcher with a temperature sticker is also useful for monitoring the milk temperature. It helps you achieve the perfect temperature for creating beautiful latte art.
When it comes to the cup, using a 6-ounce mug is recommended. This size allows you to add the right amount of milk for your latte art. Additionally, using whole milk is the best choice for achieving high-quality microfoam. The fat content in whole milk helps create a creamy and smooth texture, perfect for latte art.
Investing in a quality espresso machine is also advisable. A good machine ensures better steamed milk, which is crucial for creating intricate designs. With the right equipment, you'll have more control over the steaming process, resulting in better texture and consistency.
To further enhance your latte art skills, consider watching instructional videos or taking classes. These resources can provide valuable techniques and tips to improve your artistry. Remember, practice makes perfect, so don't be discouraged if your first attempts aren't flawless.
If you have any questions or need further assistance, feel free to reach out to us via email. We're here to help you on your latte art journey!
Steaming and Frothing Milk

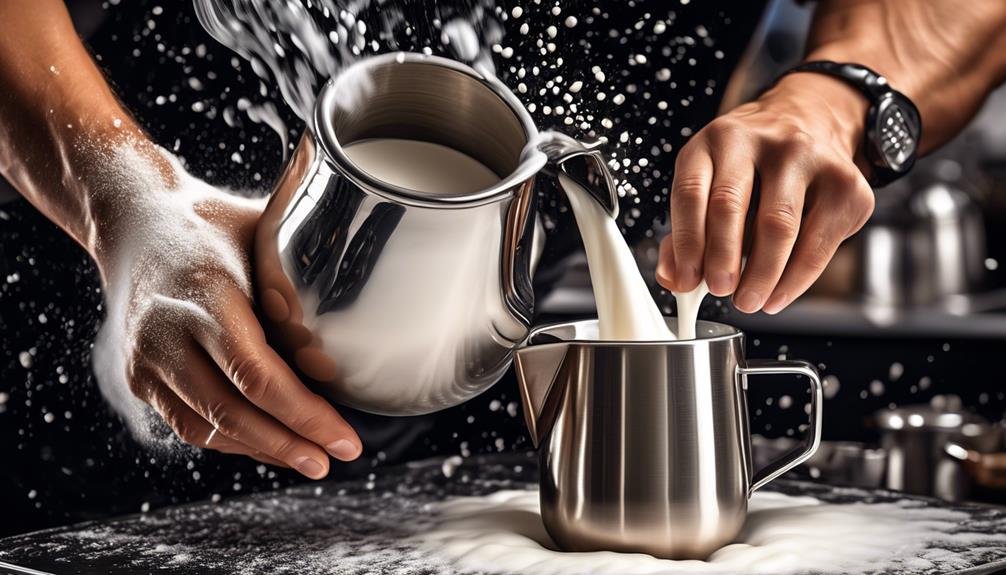
Using cold milk in a chilled pitcher is the first step towards achieving the perfect steamed and frothed milk for your latte art masterpiece.
Here are some important tips to keep in mind when steaming and frothing milk for latte art:
- Start with whole milk: Whole milk is the best choice for creating a creamy and velvety microfoam texture. Make sure to leave enough room for expansion in the pitcher to prevent spills.
- Purge the steam wand: Before steaming the milk, it's essential to purge the steam wand to remove any excess water or air. This ensures a smooth and consistent flow of steam.
- Heat the milk to the right temperature: To achieve optimal microfoam texture, heat the milk to around 140-145 degrees Fahrenheit. Using a liquid thermometer can help you monitor the temperature accurately and prevent scalding.
- Swirl the milk after steaming: After steaming the milk, give the pitcher a gentle swirl to integrate any remaining bubbles and create a smooth texture.
- Pour slowly and steadily: When pouring the milk into the espresso to create latte art, pour it slowly and steadily. Control your movements and pour at the right height and position to create designs like hearts, rosettas, and tulips.
Pouring Techniques for Latte Art
After mastering the art of steaming and frothing milk, the next step in creating stunning latte art is perfecting your pouring techniques.
When pouring the milk into the espresso, make sure to start from a high position to create a base. Gradually lower the steam pitcher to the surface while pouring to blend the milk and espresso together smoothly.
As you pour, use slow movements and controlled techniques to create patterns or designs by manipulating the flow of milk. Experiment with different pouring speeds and angles to achieve various designs such as hearts, rosettas, and tulips.
Remember to practice regularly to improve your pouring technique and create intricate designs with precision.
When pouring, make sure the milk that's being poured is about half full, allowing enough room for the foam on top.
To finish off your latte art, tap the milk pitcher gently on the countertop to remove any air bubbles and create a smooth surface.
With practice and patience, home baristas can master the art of pouring to create beautiful and eye-catching latte art designs.
Advanced Latte Art Techniques

For the adventurous latte artist looking to take their skills to the next level, exploring advanced techniques opens up a world of creative possibilities. With these techniques, you can create intricate designs and patterns that will impress anyone who sees your latte art.
Here are five advanced latte art techniques to help you elevate your skills:
- Experiment with different pouring techniques: Try pouring the milk in a circular motion while shaking the pitcher back and forth slightly. This technique creates a flower-like pattern on the surface of the latte.
- Utilize a toothpick or latte art pen: Once you've poured the milk, you can use a toothpick or latte art pen to etch and draw intricate designs on the foam. Gradually progress to more complex patterns as you gain confidence.
- Practice patience and precision: Achieving clean lines and details in your art requires patience and precision. Take your time and focus on creating smooth, even strokes.
- Watch tutorials or take classes: To learn advanced latte art techniques, consider watching tutorials or taking classes. These resources can provide valuable tips and guidance to help you improve your skills.
- Be creative and have fun: Remember that latte art is a form of self-expression, so don't be afraid to get creative. Experiment with different milk types and temperatures to find your preferred texture and taste.
Frequently Asked Questions
How to Make Latte Art at Home?
To make latte art at home, you'll need to master the art of frothing milk and pouring it into espresso. Practice your technique, experiment with different designs, and soon you'll be creating beautiful latte art like a pro.
What Do Baristas Use to Make Latte Art?
Baristas use an espresso machine with a steaming wand, a metal pitcher with a temperature sticker, and quality whole milk to make latte art. Investing in a good espresso machine is key for better steamed milk.
What Is the Secret to Latte Art?
The secret to latte art lies in achieving the perfect microfoam texture. It's all about using the right steamed milk and espresso. With practice, you can pour milk at the right angle and etch intricate designs on the foam for beautiful latte art.
What Machine Do You Need to Make Latte Art?
To make latte art, you'll need an espresso machine with a steaming wand. Investing in a quality machine is recommended. Also, consider using a metal pitcher with a temperature sticker and a 6-ounce mug for the right amount of milk. Creating microfoam is crucial.
Conclusion
In conclusion, mastering the art of latte art requires practice, experimentation, and the right equipment.
By following the basic steps of steaming and frothing milk, pouring techniques, and using creativity to create intricate designs, anyone can create beautiful latte art.
With time and dedication, you can impress your friends and customers with your skillful and creative latte art creations.
So, grab your espresso machine and start practicing to become a latte art pro!


